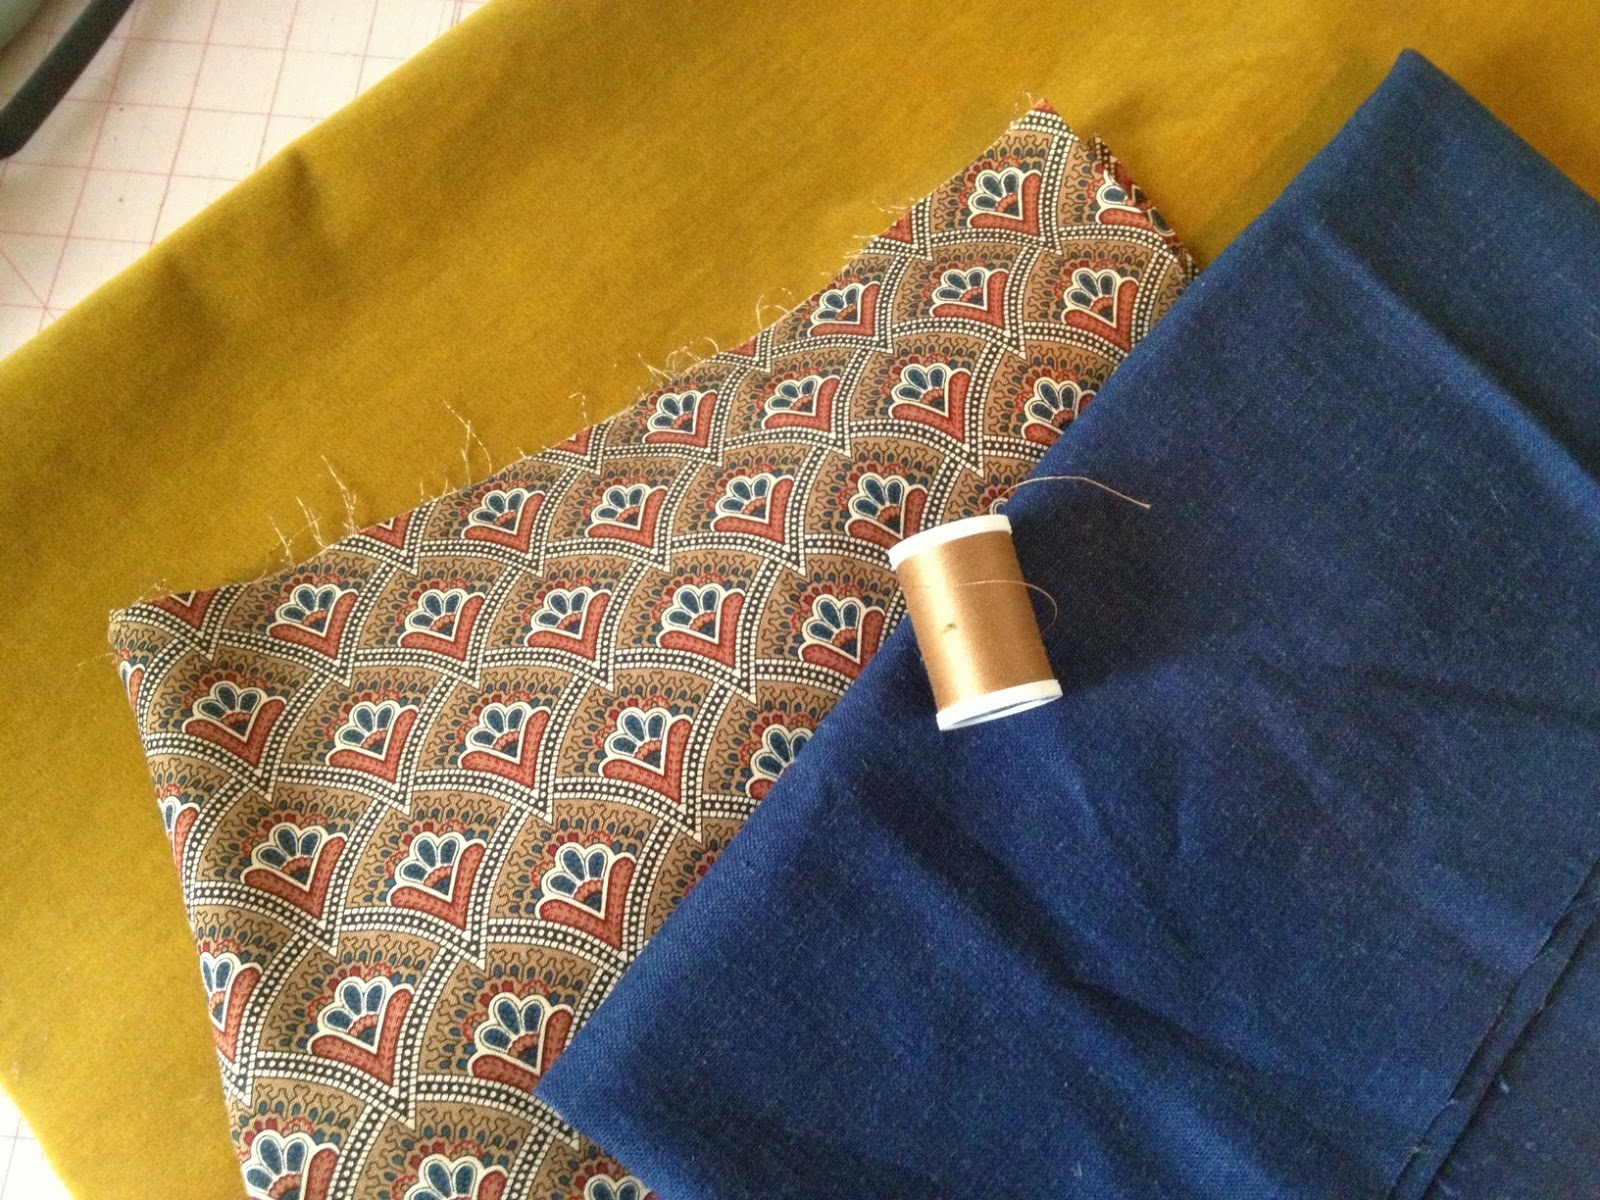
Wednesday, October 9, 2013

Mess & Perseverance


Ever had one of those days that just wipe you out in every way??  I had one of those today.  It probably didn't help that I was running on borrowed energy when I woke up...or that I had misplaced my phone (aka "my life") by 7 am...or a number of other things... but I. am. spent.

Sometimes projects get a little messy.  You know, when things seem to get worse before they get better??  I seem to remember this happening pretty much every time my mom told me to clean my room as a kid, haha, sorry mom.  I suppose you could say that I've dealt with my fair share of mess over the last many years of renovating...but I'm still not a fan...and sometimes it still catches me off guard and takes me a minute to figure it all out.  You may just want to ditch the project altogether, but...if it's important to you....at some point you must deal with the mess.  Ugh.

On my way home from dropping my kiddos off at school this morning, I found myself admiring the morning sky.  It was kind of like a rainbow was blanketing the whole skyline to the west beginning with red on the horizon and all the other colors that follow until reaching the blue that faded into the sky above.  I would have taken a picture...but remember....lost phone.  ;-)  It was cool though and I couldn't help by revel in the masterfulness of the Big Guy upstairs.

Do you think He ever had to deal with a project veering off course?? Mess?  Honestly, I'd never really considered it in this context before but...YES! That little thing called sin...which can be found in each and every human being on this planet.  His imperfect children who He loves so much.  Pretty amazing if you think about it...we are the project!  Perfect perseverance.

Sometimes it seems perseverance is becoming somewhat of a lost art in our "disposable" society.  But, whether it be a trivial project in our homes or something more meaningful like the challenges we may have to face in our relationships or the hard choices we make as parents, how beautiful are the things that can be made when we persevere...

I still don't like "mess", but being reminded of what's on the other side helps the medicine go down a little smoother.  And if you happen to be walking through my day to day life with me, which is probably most of you reading this blog... ;), thank you for persevering with me.

There's my deep thought for today...from my very tired brain... :)

xo,


ps.  And speaking of mess...I'm going to bed with dishes in the sink tonight and a pile of laundry in the basket.   I'm telling my inner-perfectionist to hush because perseverance in those areas are just going to have to wait until this chick gets some rest.

Tuesday, October 8, 2013

DAY 8

If you ventured here today in search of my pillow tutorial...you have my deepest apologies.  Once again, I have to postpone till tomorrow.  Let me share with you one thing I have learned so far during this 'writing every day' commitment....NEVER ANNOUNCE SCHEDULED CONTENT!  Clearly, I am just not that organized yet!! HA!!  


Blogging on my "to-do" list today was kind of like one of those kernels of corn that bounced off the bar and floated away.... oops.  

xo,

 
ps. Can someone ask the "31 day challenge" police if a post still counts if it is written minutes before the clock strikes 12??  Better luck tomorrow...

Monday, October 7, 2013

DIY Cording for Throw Pillows

In an effort to simplify the pillow tutorial, let's first tackle how to make our own cording.  The same basic supplies are required.  Go here to find that list...

The pillow that we will be making in the upcoming tutorial will have cording like this...


Cording is a super easy detail to add to your pillows which gives extra punch to a regular throw pillow adding an even more customized and finished look.  Ready-made cording can be found at the store, but with just a little bit of effort and a lot less money, you can make your own and incorporate exactly the look you want.

The first thing you need to do is figure out the diameter of your pillow to get the total length of cording you will need.  I always round up my diameter a little so I have plenty.  No one wants to be 3" short...so frustrating!!

*Math review*  2x length + 2x height = diameter

Then, you'll need to purchase "x" amount of yards of the cotton cording filler.


There are usually a few thicknesses available, but for this project I am using a 12/32".  I believe a 6/32" was used in the picture shown above.  

Next, you'll need to cut your strips of fabric that will be sewn together to make your cord cover.  To do this you'll need to figure out how wide your strips need to be.  

My dressmaker's measuring tape comes in handy here...


First you have to decide how big of a seam allowance you will be using.  For this pillow I am using a 1/2" seam allowance.  In reality I will need to add 1" (2x my 1/2" seam allowance) to the circumference of my cotton cording filler.  But...this is actually how I figure it out....

I place the cording on the 1/2" marker line on my measuring tape...


Then I continue to fold the measuring tape around the cording until it meets on the other side. 


Then, I add my other 1/2".  For tomorrow's project 1 3/4" strips are needed.  

When cutting cording strips you need to determine whether or not it is necessary to cut on the bias.  A bias cut cording is what gives the cording pictured in the pillow above a diagonal stripe.  It allows heavier fabrics to bend and stretch more easily when going around curves.  For this project, my fabric is lightweight and solid in color so I've decided to take the easier way out and use the straight grain.  I'm sure there is a project on the horizon in which a bias cut will be in order...I will go into more detail at that time.  It's not really any more difficult, I just don't have the supplies to demonstrate it for this project!

My fabric is 54" wide but I always round down for this so let's call it 50".  My diameter measurement comes to 110"...so I'll need to cut 3 strips which will give me 150" (a little extra).

Side note:  Remember when you asked your mom when you would need math in the real world??  Ha!

Ok, so I'm going to use my cutting board and ruler to cut 3 strips @ 1 3/4" wide.


Next I need to sew those three strips into one long piece.  I find it helpful to mark the "right" side of the fabric with a pin if it isn't obvious which is the front or back.  The navy linen blend I'm using here is undistinguishable.  

Pins to mark the "right" side of the fabric


Then I'm going to pin the right sides together at the seams. 

Pinned "right" sides together

I don't bother to cut off the selvage edge of the fabric.  You don't want to include it in the finished project because it has a tighter weave, but it won't hurt anything within the seams.

When I'm sewing the seams here, I use a shorter stitch length, 2-3ish, so backstitching is not required.  And since I have pinned all my seams together beforehand, I can feed multiple strips through the machine without stopping to cut threads between each piece.  Also, you don't need to use the zipper foot for this part of the process, but it won't hurt anything either.  I find I use my zipper foot for quite a lot!
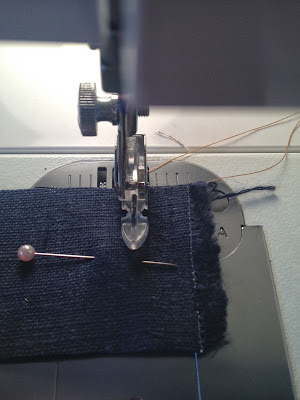
Beginning first strip with extra wide seam allowance
Continue feeding strips through machine without stopping to cut in between
I only had two pieces to sew for this single pillow, but when doing larger quantities of cording, this is a great time saver!  When finished, I just clip the threads between each strip and bingo I have one large strip!  


Next, trim the seam allowance to about 1/4".  No measuring required - just guesstimate.  


Unfold fabric and press open seams.  If the fabric you are using is lightweight enough you may be able to just press open with your fingers.  If it's a little heavier, you may need to bust out the iron.


Time to add the cording!!

Place the cording in the center of the wrong side of the fabric.


Fold the fabric together until the wrong sides meet and the cording is inside...like a taco. 


Let's sew!  Using a long stitch (4ish) together the cording sleeve.  It is not necessary to get up close to the cording at this point.  I find it is easier to make a first pass to just line up the edges of the fabric.  It gives you a nice clean edge will be helpful when adding the cording to the actual project (a pillow in this case).  As you can see from the picture below, no precision is necessary as far as straight stitching goes at this point.


For the second pass, you're going to place the zipper foot up next to the cording and stitch.


This is kind of tricky to explain, but I place my hand on the other side of the cording and allow it to guide the cording gently through.


The idea is that you stitch up closely to the cording without forcing it to be extremely tight.  It is okay and even preferred at this point if it isn't the tightest in can be.  That will be done later...when the cording is actually attached to the pillow.  When you're finished with the second pass, you'll have something similar to this...

notice:  perfect stitches NOT necessary
You may have noticed that the color of thread I am using does not match the fabric.  For this case, the thread is the same color thread I will be using for the actual pillow.  It's not really necessary that it match the color of the cording fabric...no one *should* ever see these stitches.

Congratulations!!! You can now make you're own cording!  And I promise...it took me longer to write this post than it has EVER taken me to make a few yards of cording.  :-)

Next up...pillow making!!

xo,

Sunday, October 6, 2013

Oh Homegoods...

When any road trip takes me to a metropolitan area in which a Homegoods can be found....OF COURSE, I try to carve out a little time to stop and peruse the merchandise.  I have to admit, I wasn't really feelin' it today. (shocking I know!!)  It was kind of a rainy, yucky day and my traveling partner...


...really needed a nap!  But, as we founds ourselves nearing the Homegoods location... the clouds parted and the rains cleared.  It had to be a sign right?!? (wink, wink)  And they didn't disappoint...


They had me at bone inlay... :-)  I see a lot of Cynthia Rowley stuff at TJMaxx/Homegoods, so I'm not sure if this stuff is overstock or a specialty line for their chain, but regardless these trays were awesome!

Hope everyone had a super weekend!  And don't forget to stop by tomorrow for that promised pillow tutorial!!

xo,


Saturday, October 5, 2013

New Baby Celebration

There are few things that are more fun to celebrate than new life.  This weekend Olivia and I ventured away from the farmhouse to go celebrate the newest coming addition to our extended family.  Here are a few pictures of us enjoying the event!

Amanda, guest of honor, and Olivia


Delicious cupcakes!!

Olivia LOVES cupcakes!!

Olivia and her collection of nail polish - adorable baby shower favors!!

I am so thankful for my family!  And... I truly believe that if you have found a few great friends in life that stick with you through thick and thin you have been blessed.  Bonus if you have someone in your family that you can also call a friend!  This special girl is both to me!  We are so thankful for her and we can't wait to meet baby E!!

xo,

Friday, October 4, 2013

The Little Farm Boy

No one is more excited about harvest than this guy!  I may have to slow down on my projects, but his have just begun!


The first thing he does when he gets home from school is ask to go to the farm...and as long as homework is done and behavior is good, that's where you'll find him.  One night he caught a ride home from the field in the semi.


I met him outside as he ran up the driveway is his cowboy boots...pure joy on his face.  


Every year I'm amazed by the guys working in the field.  Despite the frustration of equipment breaking, occasional unfavorable weather, and sometimes 17 hour days, they plod through with generally positive attitudes and are still willing to take the time for this little farm boy in training.  They wouldn't have to make time for a tag-a-long...I'm positive they have enough on their plate and it's just one more thing to keep track of!!  But, I am so thankful they do, because going to the field and spending time with these men gives him a chance to see hard work and diligence in action as well as exposure to so many wonderful role models.  What a lucky kid!

xo,

Thursday, October 3, 2013

Conquer the Fear...of sewing.

Fear is a peculiar thing.  I suppose there are times when it works in our benefit, but most often it seems to keep us from reaching our full potential.  It may keep us from going somewhere we've never been, reaching out to someone we don't know very well, or maybe trying something new...like painting with a fun color....or...sewing a pillow.  When you say it out loud, being afraid of sewing a throw pillow seems a little silly, but it has the same root as everything else.  A fear of failure.

For me, the perfectionist, my biggest hang-up with trying something new is getting started.  What if I don't like it and have to (gasp) try something different?  What if someone else doesn't like it or even criticizes me for it?  What if it takes more than one try to get it right?  Trust me, I've been in all of those situations *many* times and here is the conclusion I've come to....  who cares???  If this is something you struggle with too, I promise everything will be alright.  These are, after all, first-world problems.  :)  Let's face it, decorating is small potatoes in the big scheme, but I truly believe accomplishing these little projects, one by one has some great life skill practice woven in there somewhere.  With every small success, a little more confidence to try something new takes hold.

Sewing seems to be one of those activities that creates fear in people.  I've been told many times by friends that they would either like to learn to sew or can't sew.  Don't get me wrong, there are some sewing projects that do require a great deal of skill...I don't recommend starting with those, haha.  But two common home decor sewing projects, throw pillows and curtain panels, are well within the skill set of a beginner.

Here's an example of patterned throw pillows and simple unlined drapery panels made by me.  A huge benefit to tackling custom pillow covers is the freedom to get exactly what you want, including better quality, for less than you would pay at the store!

Living Room

So, if it's fear holding you back...let's conquer that fear together and make a pillow cover!!


Here is your supply list:

-sewing machine: nothing fancy required...I've had my very basic machine for almost 17 years and it hasn't let me down yet!!


-standard foot and zipper foot


-cutting mat, ruler, and rotary cutter


-pillow form: I only use down pillow forms.  I stopped using poly-forms a long time ago.  They go flat so quickly and look lifeless.  It's worth the couple extra dollars to invest in a down form.  Most times they can be found at local specialty fabric stores or upholstery shops, but Ikea is a great source for cheap pillow forms!  All the measurement instructions I give will be based on the assumption that a down pillow form is being used.

-fabric: One yard of 54" fabric is usually plenty (and sometimes even too much) to cover a pillow using the same fabric on both sides.  If you plan to use a contrasting fabric on the reverse side of the pillow, you'll need to account for that.  You'll also need extra fabric if you plan to add cording or a ruffle.

-cotton cording (optional): this can be found in the home decor section of the fabric store.  It is sold by the yard or in a package of a few yards.  I will be using this in the pillow I tackle.  Don't let it scare you!! It's really simple!


-thread

-zipper (optional): 4-6" smaller than the width of your pillow form should be just fine.

-regular scissors

-dressmaker's measuring tape


-pins...these are my favorite


-seam ripper (hey, mistakes happen ;) )


-iron and ironing board:  There are probably alternatives out there to the ironing board if it's not something you use on a regular basis, but they really are handy for sewing.

Since this post has become a beast...meet me back here tomorrow and we'll get started!  Can't wait!  Remember...you can do it!!

Update @ 10pm: tutorial rescheduled for Monday.  The good ol' iPhone taking the pictures for me powered down mid-process and I took that as a sign it was exhausted too!! And, good things don't usually happen when you try to force them...so I'm headed to bed!  Forgive me? :)  It's going to be great though! See you Monday!

xo,